Tudor Tailor Part...the last part, First. The making of my French Hood
 |
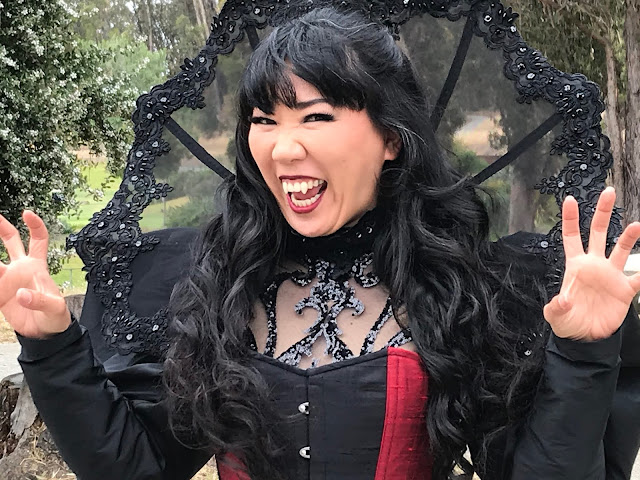
| Photo by Melissa Bagley |
So the first post of my Tudor trials will be about one of the last things I made, my French Hood. I love my French Hood! It is one of my favorite parts of the whole costume. I've made a few hat type things in the past, but nothing like this! It was also so, so, so very nice to be making something small after making the gown and the kirtle.
Here she is...

The Pattern:
Pattern for Women's Tudor French Hoods by Tudor Tailor.
Materials I used:
The base:
Buckram and 19 gauge millinery wire from Lacis. I also used beading wire because the recommended one yard wasn't enough for the billiment. Millinery wire was easier to use because it is wrapped, which makes it less slippery.
Plain cotton flannel from Joann's in lieu of domet.
Outer parts:
Black silk taffeta left over from the kirtle. From Renaissance Fabrics.
White poly satin from Joann's. (I was too lazy to get white silk, plus I don't wear white. I needed such a small amount)
Black rayon/silk velvet for the veil. Leftovers from the gown. From Thai Silks.
White linen from my stash for the lining.
Gold organza ribbon from Michael's or Joann's.
Jewels:
Truly Hats Ouches. She has so many to choose from! I ordered a small variety before settling on the gold and black Kathrine Parr ones.
Glass and plastic pearls, and gold spacer beads from Michael's or Joann's.
Heavy thread for assembling the hood and securing the ouches. It might have been a combo of linen thead and button hole/heavy duty thread.
Making of the French Hood.
Fitting:
I made a mockup in pink craft foam. Sadly, I can't find the picture. It was amazing, I promise. I was so excited! It all fit fine. Well I thought so at the time. Obviously craft foam isn't the real thing, and although I looked at a thousand pictures and paintings, and read Prior Attire's blog post on making hers, I didn't realize that I would have preferred to have the sides of the brim to hit lower on my face. I discovered that after assembling the the brim and crescent, and I wasn't turning back. Everything else looked good, though, and I could live with it. Note to self: Next time make the sides come down a little longer. Also, scrutinize the smallest details before continuing. Even when you are super excited!
Assembling:
The hood went together quite easily so I won't go into a ton of detail. It's all in the pattern, but you can look at my pretty pictures. I believe I did it all without a machine, although I might have gotten over my fear of breaking a needle, and tried zigzagging the wire to the buckram with the machine at some point.
There were a few tools that I don't use for sewing very often that I found indispensable.
#1. Wonder Clips. I haven't found Wonder Clips to be very useful until now. They did a great job of holding the wire in place as I was forming it to the buckram. And holding the fabric to the frame before stitching.
#2. Pliers for making nice, sharp corners while bending the wire around the buckram, sewing the hood together, and for the beading on the hood and the kirtle. If you want to save your hands, use pliers. I used them in combo with a thimble and the little putty-colored grippy thing.
 |
| Using pliers and Wonder Clips to shape the wire to the buckram. |
 |
| Brim and crescent has been wired. Brim and Crescent sounds like pub name. |
The flannel did it's job, which I believe was to smooth out the buckram and wire base, and to provide something for the fashion fabric layers to be sewn to. Maybe I'll get my hands on domet in the future.
 |
| Covering the buckram with flannel. |
 |
| Silk and satin on the brim and crescent! The basting stitches got removed after the lining was attached. |
 |
| Pining the living heck out of the linen lining. |
 |
| Brim and crescent assembled!This will now be referred to as the cap. |
A few issues pop up...
#1. Veil attachment issues. The veil seemed too narrow because the back of my head/hair was making lumps in the veil. I was trying to attach it to the crescent with a small overlap all the way around the bottom of the cap, but it barely fit. After help from the Elizabethan costuming group on FB I ended up attaching it to the back of the crescent around to the top edge of the back of the cap. Problem solved.
#2. I thought I could cheat and use wired ribbon instead of pleating it...welp it didn't work because it made the hood sit too high on my head so it had to go. It looked pretty though.
#3. The cap was too big in the back so I ended up sewing the back together instead of using the ties. You can see in the picture below verses the picture above. The one above has a black ribbon tie that was taken out.
But then it was smooth sailing! I slacked off on pictures at this point. Frantic beading was going on, I guess.
 |
| Organza ribbon box pleated for the frill, and the lower billament (pearls/jewel decoration) is on. Row of pearls and spacers were strung on a wire and then couch stitched on. |
 |
| Upper billament in black silk taffeta, decorated with the Katherine Parr ouches. It just needs pearls before attaching to the crescent. |
 |
| Practicing some Tudor side eye. |
Comments
Post a Comment